Your virtual ID photo will be used as your identification photo for official college business and records, including, but not limited to, your library card, digital ID for select campus locations, and for entry to the fitness center. The following guide will provide instructions for submitting your photo as well as a copy of your government ID, along with the requirements for the photos.
1.
Go to Montco Connect.2.
In the Connect search bar, search for and select Virtual ID Photo Submission.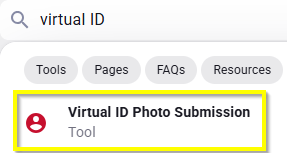
3.
Take a front-facing, color photograph of yourself taken in natural lighting (or taken with flash, if indoors). A solid background for a higher quality image is preferred. Make sure it follows the displayed guidelines and is a JPEG (.jpg) file type.4.
To continue to the next step of the submission, you must check the acknowledgement box, then select the Continue to Step 2 button.5.
This page will display your account info. Select the Choose File button to open the files on your device. Navigate to the location where your photo is saved and choose the photo. Then select the Continue to Step 3 button.![]()
6.
You can crop the image by changing the area of the photo that the rectangle is highlighting. You can rotate the photo by using the arrows beneath the image.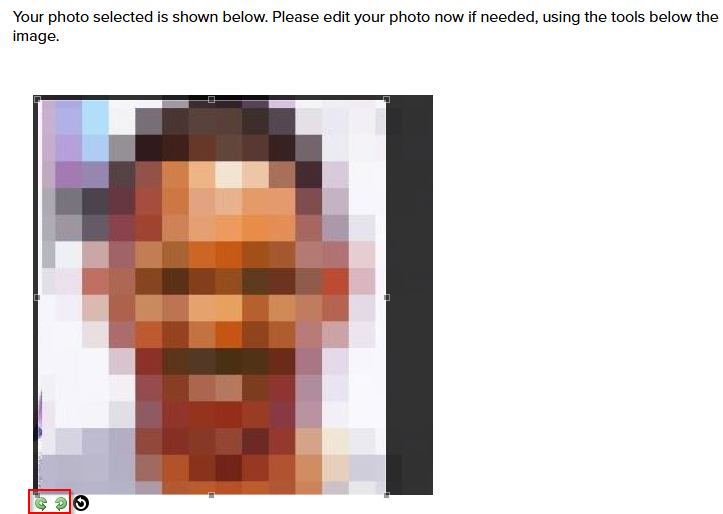
7.
If you need to change your photo, select Choose File and upload a new image, then select Change Photo. When you are satisfied with the image, select Continue to Step 4.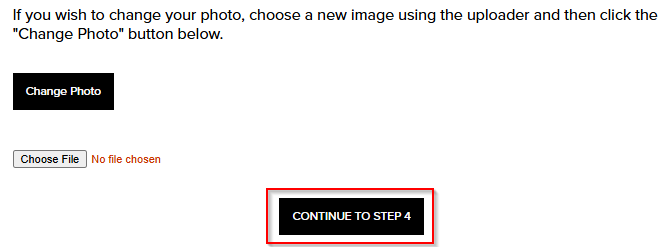
8.
Confirm that your photo looks like the given example, check the acknowledgement box, and select Continue to Step 5.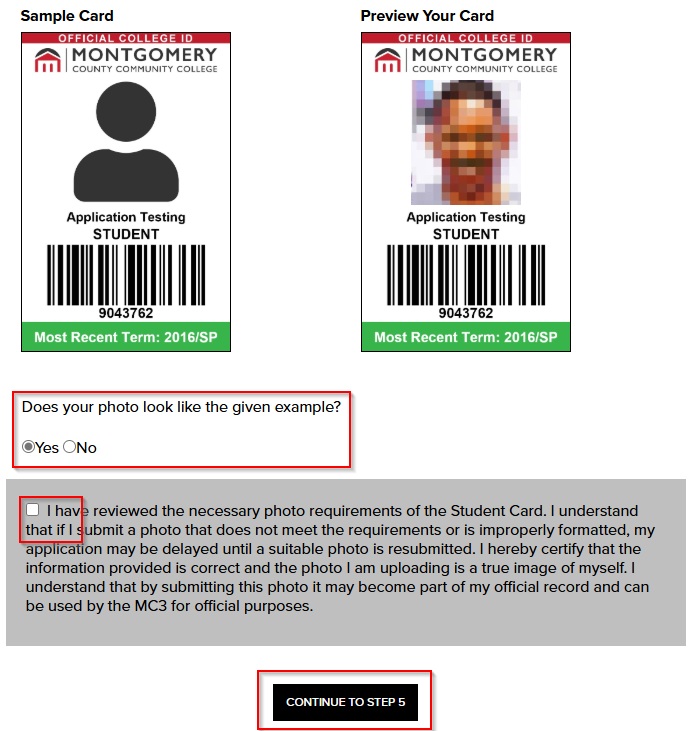
9.
Take a picture of your state issued ID card, driver's license, or passport. Make sure it follows the displayed guidelines and is a JPEG (.jpg) file type.10.
Select the Choose File button to open the files on your device. Navigate to the location where the picture of your government issued ID is saved and choose it. Select Continue to Step 6.![]()
11.
You can crop the image by changing the area of the photo that the rectangle is highlighting. You can rotate the photo by using the arrows beneath the image.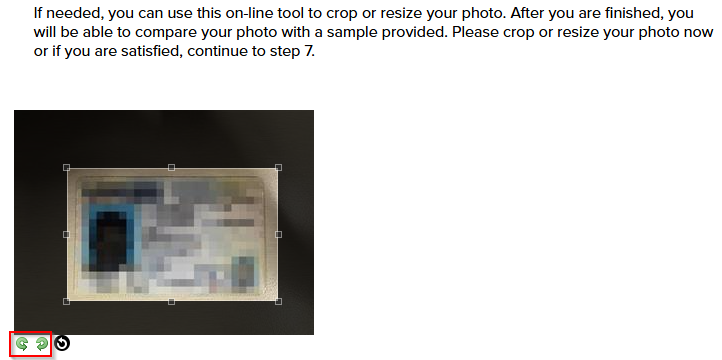
12.
If you need to change your photo, select Choose File and upload a new image, then select Change ID Card. When you are satisfied with the image, select Continue to Step 7.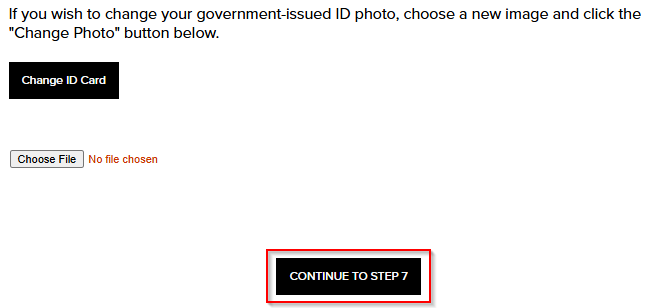
13.
Confirm that your id looks like the given example, check the acknowledgement box, and select Continue to Step 8.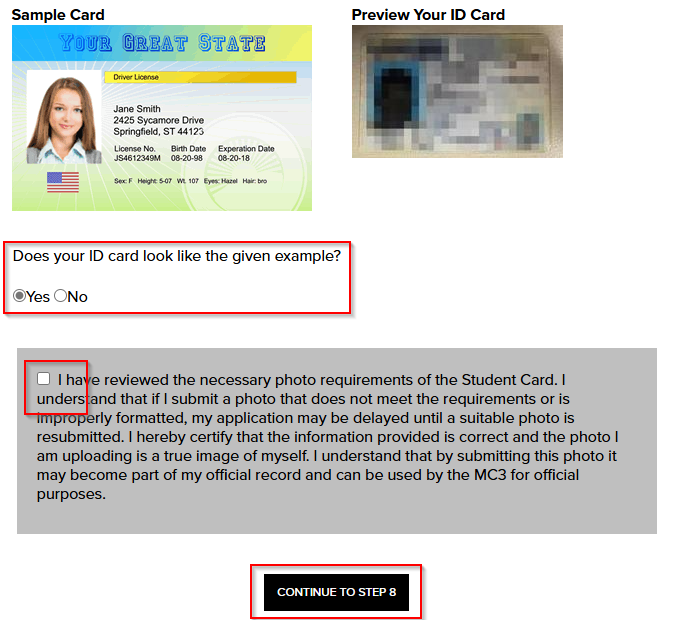
14.
You should see a message saying your photo has been uploaded to the database successfully. You can use your ID number on the Check Status page to track the status of your submission.
