Students must first plan a course and section before they are able to register. If a student is unable to self-register, they can use the Registration Assistance Form. The form will be processed by Enrollment Services same day if it is submitted during operating hours.
1.
To plan a course, go to Self-Service.
2.
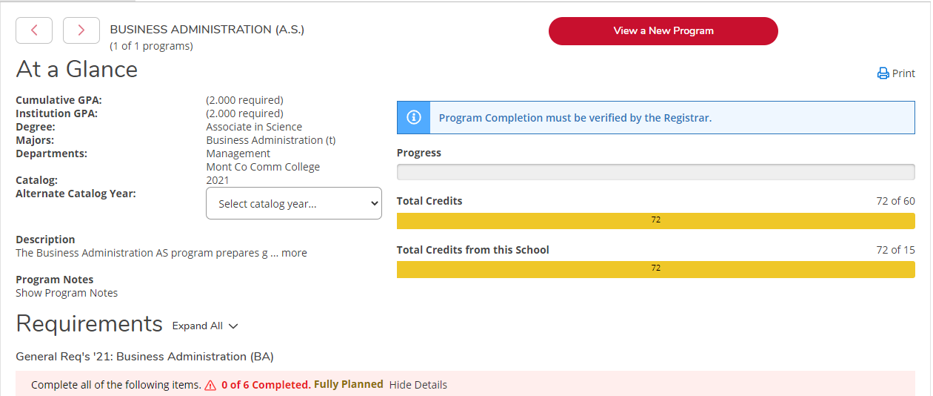
Courses should be planned according to the academic plan. Choose the Student Planning category. Under View Your Progress, select Go to My Progress. This will outline all the course requirements for the degree program.
3.
The Requirements section will have the core classes and electives that are part of the program. Electives will list every course that will meet the requirement. In this example, a student only needs to to select ONE (1) elective of the options listed.

4.
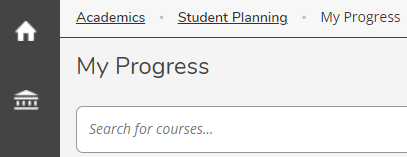
Once a decision has been made on what course to plan, return to the top of the My Progress page and find the search for courses field. Enter the course to plan and press the Enter key. In this guide we will search for the course ID ANT 104. The letters indicate the category of the course and the numbers identify which course it is. In this case, it is ANT (Anthropology) 104 (Intro to Cultural Anthropology).
5.
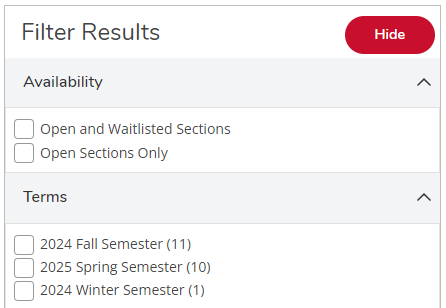
On the results page, you can use the Filter Results section on the left of the page to narrow the search results. There are a many ways to filter the results, but the one to note is the Terms filter. It can be used to show certain semesters. For example, if a student only wanted to take a course during summer, selecting the 20XX Summer Semester checkbox would only show sections taking place during summer.
6.
The course card will have the name of the course and a brief description. At the bottom of the card, select the View Available Sections for dropdown to see the sections for the course.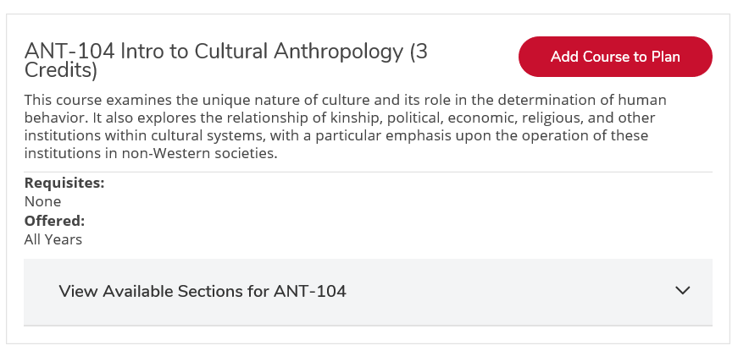
7.
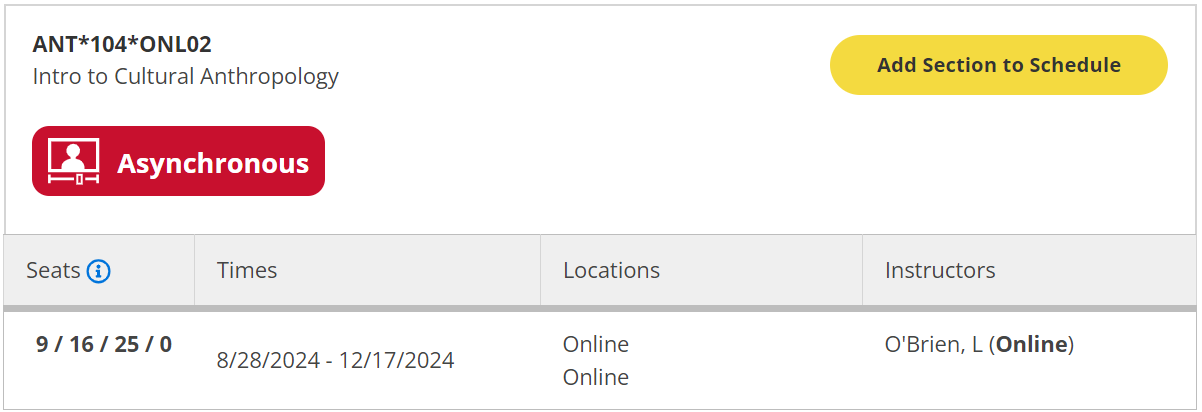
Each section card will have the course ID along with the section ID, the meeting type (sychronous, asynchronous, hybrid, etc.), the number of seats available, meeting times, meeting locations, and the instructors, and a button to Add Section to Schedule.
Need to know the meeting types? anchor to bottom with meeting type definitions there should be an anchor that returns here from the definitions as well.
8.
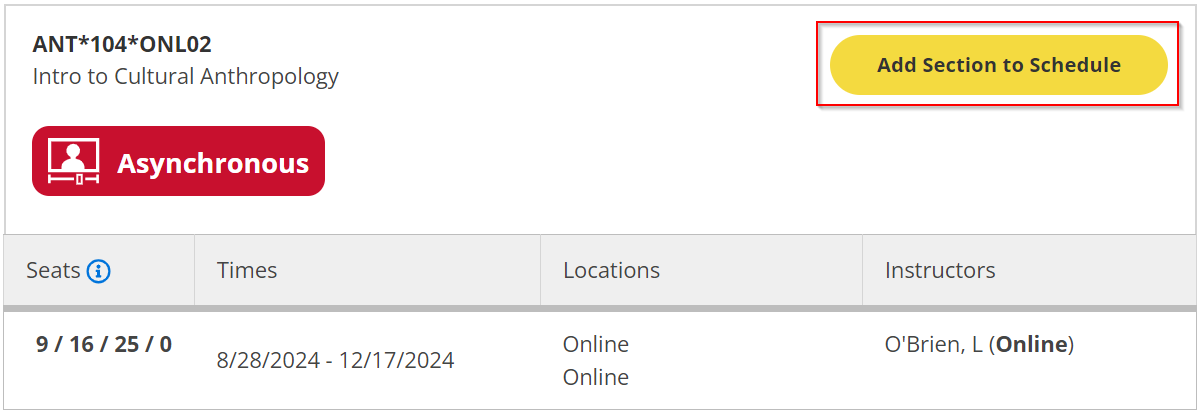
When the desired section is found, the student can use the Add Section to Schedule button to add it to their schedule.
9.
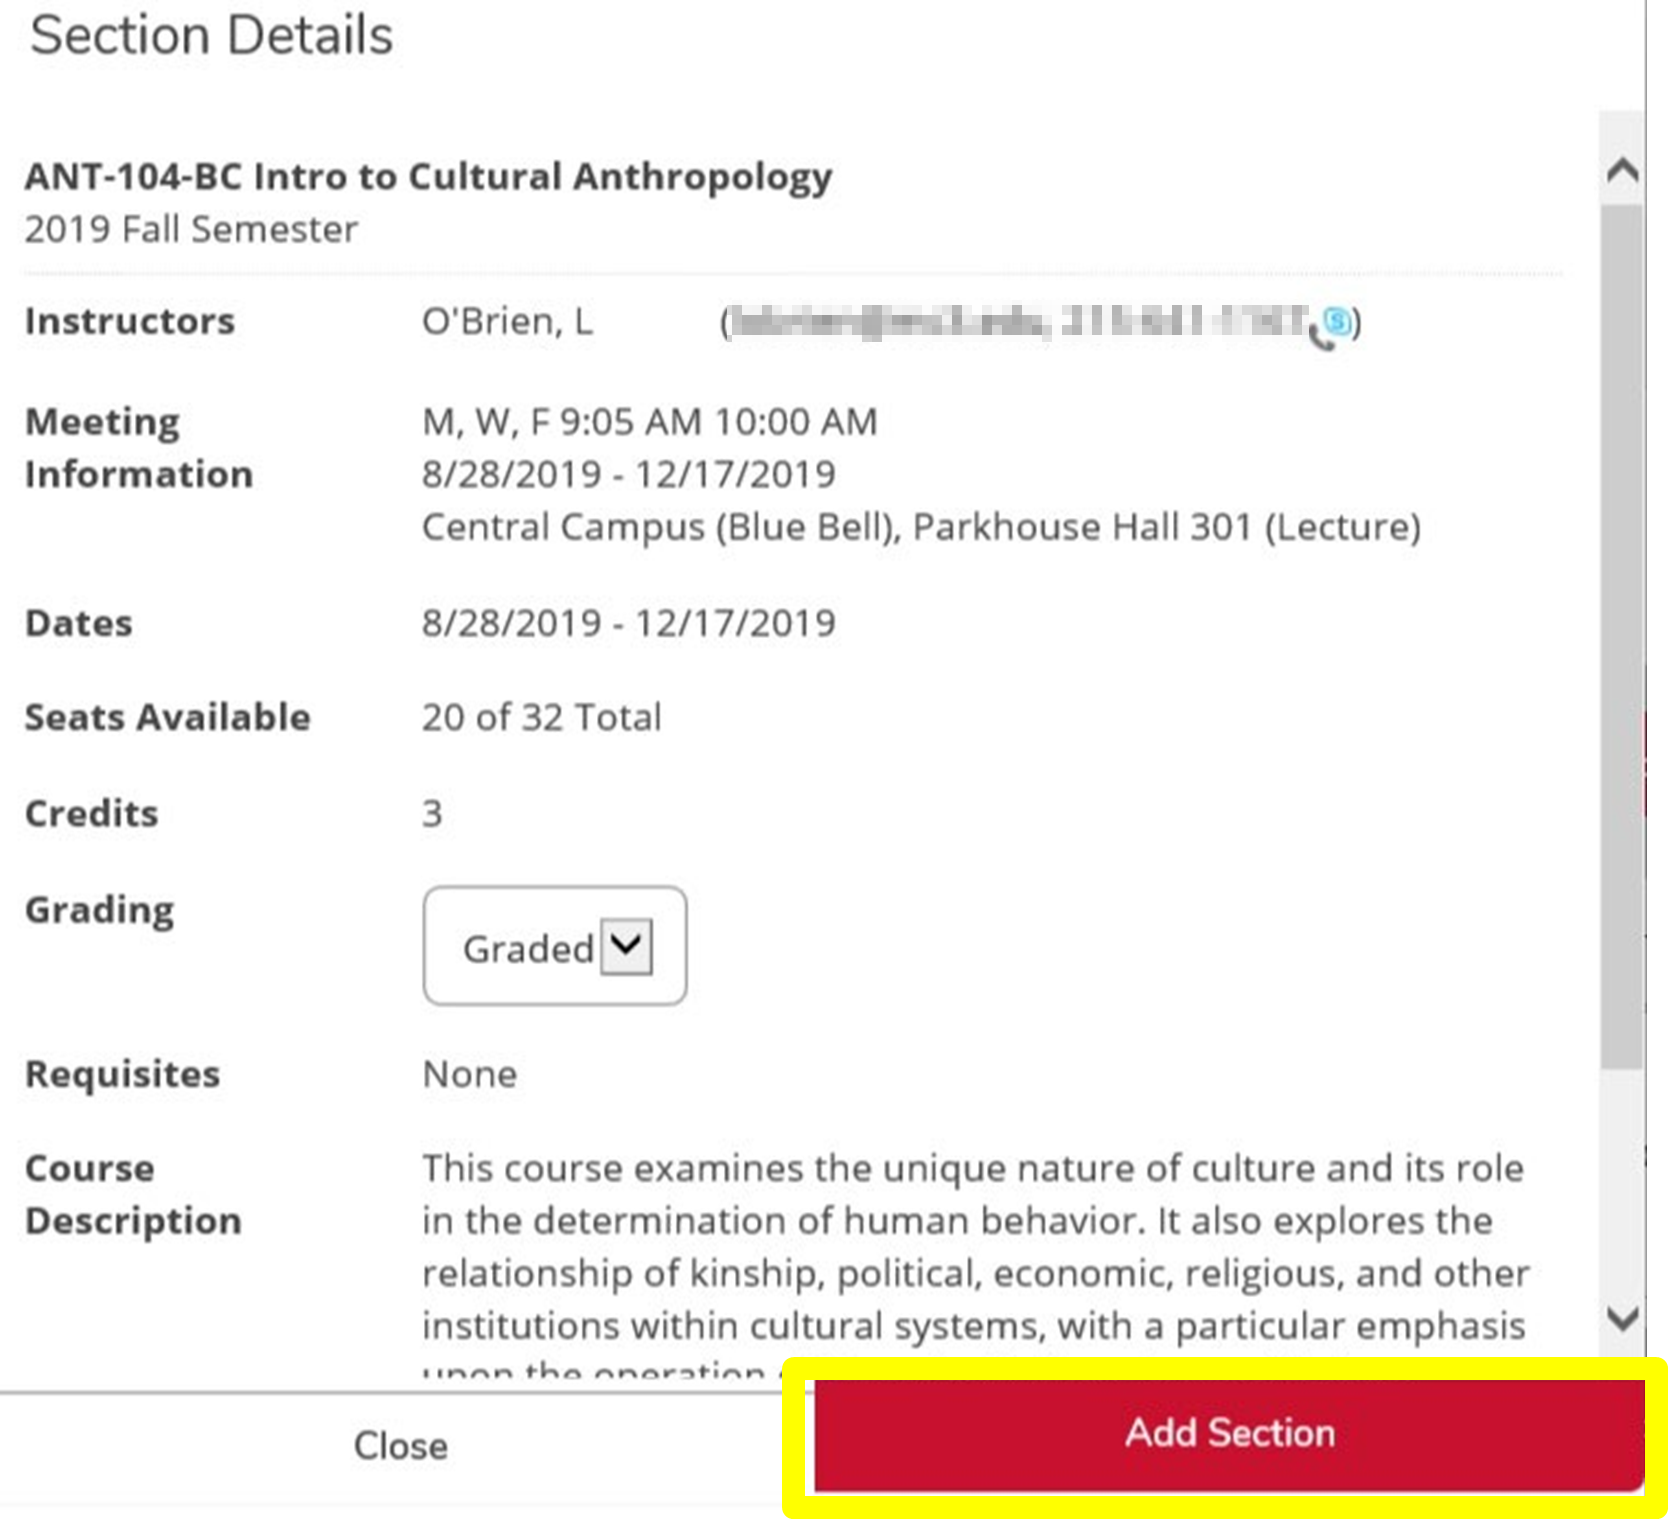
In the Section Details window, choose whether the course will be Graded (for credit) or Audit (non-credit) and select Add Section.
section-details
Section Details
Alt: The section details window with the grading dropdown and the add section button
highlighted.
10.
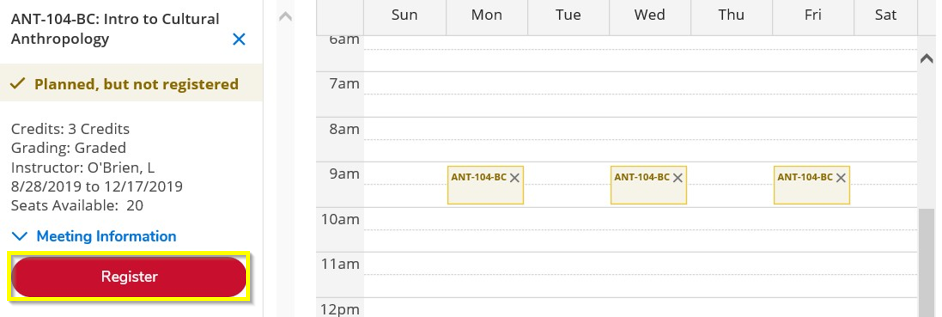
Go back to Academics > Student Planning > Plan & Schedule. Under the Schedule tab and in the correct semester, find the course that was added to the plan and select Register.
11.
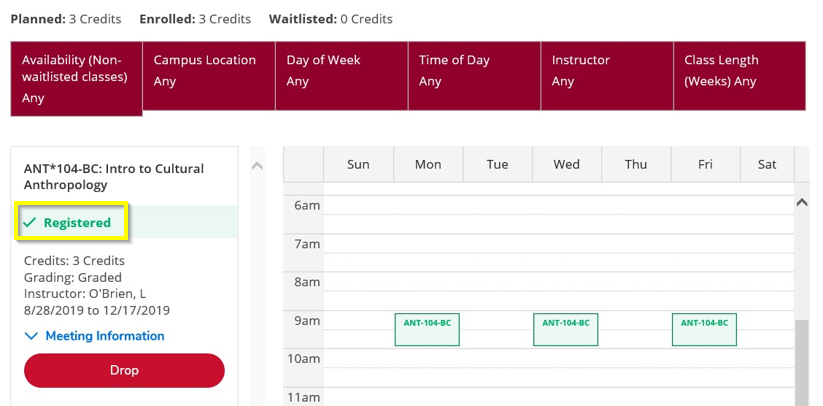
Registration is complete. The course card will show a green Registered label to show that registration was successful.
Meeting Formats
The College offers a variety of course meeting formats. Below are their definitions. You can return to the instructions when you are finished.
Face-to-Face - These sections are offered on campus on designated days and times. Be sure to read the location information to see on which campus the course is being offered.
Synchronous - These sections, with an OS designation, have required, set meeting times and will be a live online learning experience via Zoom or Microsoft Teams.
Asynchronous - These sections, with an ONL designation, have no meeting times or locations. Coursework is done fully online.
Hybrid - These sections, with a HYBR designation, have an in person and online component. Details will be provided on the in person meeting times and the campus location with the room number. Hybrid courses require in person attendance on the day and time specified in the course description.
Flex - These sections will be offered on campus on designated days and times with the option to attend on campus or synchronously online.
